 |
|
|||||||


| Models Topics related to WWI aircraft models. Forum is closed for posting. |
|
|
Thread Tools | Display Modes |


 22 December 2009, 07:57 AM
|
#1 |
|
Forum Ace

Join Date: Jul 2004
Location: England
Posts: 1,446
 |
1/32 Fok.DR.1 In Slow progress
Hello all,
I have cracked the box on the encore F.1/DR.1 and have decided to make the DR.1. My choice of pilot was easy for this build, that being Hauptmann Bruno Loerzer's Black 'n White beauty. The first thing for me to get out of the way is the wings. All the seams were dealt with, wing tips installed and blended in. Most of the over-the-top saw tooth effect on the leading edges were cut back to a more believable level. And now the fun bit.... The Spar inspection window. The original window is anything but a window. It's just a proud oblong solid plastic shape. Before drilling out this oblong I made an impression by burnishing lead foil over it. I filled the impression with Zap-A-Gap CA and then hit it with kicker. The window was then fumbled from its new home, sanded, polished and shaped to perfectly match the size of the original. One clear and shiny, but brittle new window. The window on this model sits lower cordwise than the real thing. After sanding the original window flush I scribed a new window 2mm higher. This was then drilled out and shaped. Next came the spar. Plastic strut was used to fill the gaping hole. The spar in place was now given the wood treatment with buff base coat and then oils. To finish off (thanks to Dogtail2 from this forum for a close up picture - Seen below) I made up a random serial, crown and maker mark in Adobe Illustrator. This was scaled down and then laser printed to decal film. Not wanting to waste an A4 sheet of film, I brain numbingly created stitching to fill the void  . My Ai document is free. Should you want a copy PM me and it will be so. . My Ai document is free. Should you want a copy PM me and it will be so. The decal was placed on the spar with white glue and water mix. Window installed and secured with 1.2mm Tamiya tape. Mr surfacer was applied to the tape to give texture and to make secure. Did I mention this will be a slow build? haha Thanks for your time. BVB Merry Christmas & God Bless Pictures: Completed inspection window. Window needs a wash... LOL... Last job on the list. 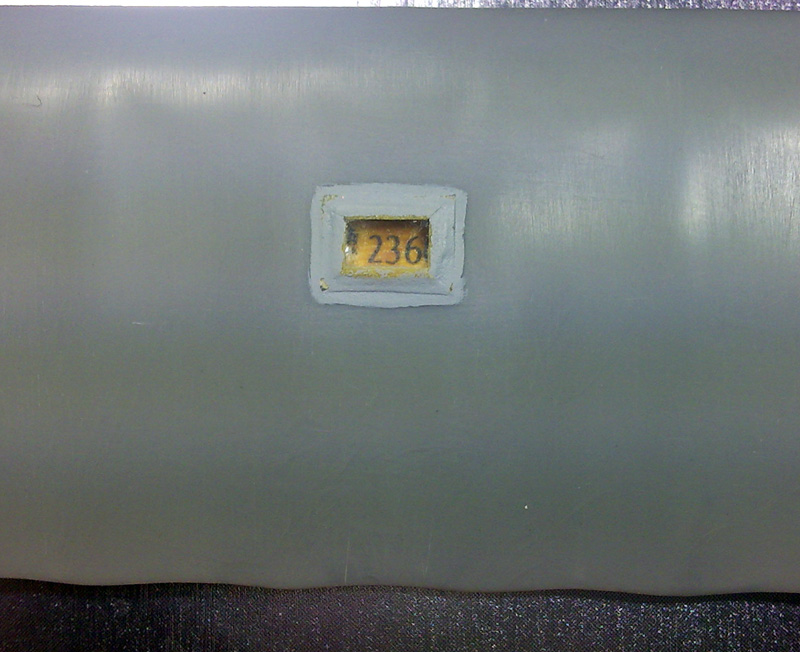 Image supplied by Dogtail 2 from this forum.  Adobe Illustrator CS4 decal snippet. 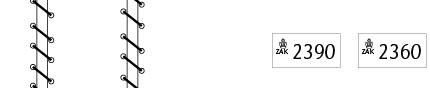
Last edited by bobs_buckles; 22 December 2009 at 09:02 AM. |

|
| Sponsored Links |
|
|
| Bookmarks |


«
Previous Thread
|
Next Thread
»


 Threaded Mode
|
|

 Similar Threads
|
||||
| Thread | Thread Starter | Forum | Replies | Last Post |
| Wingnut Bristol F2B slow build | jamo | Models | 7 | 27 September 2009 04:13 PM |
| WNW SE5 Slow Start | theseeker | Models | 9 | 12 August 2009 07:53 PM |
| A Slow Day At Work . . . | Craig | People | 11 | 12 March 2006 05:49 AM |
| my slow website | Mark_Miller | Art | 5 | 16 February 2004 01:15 PM |
As an Amazon Associate we earn from qualifying purchases.
All times are GMT -7. The time now is 03:38 PM.